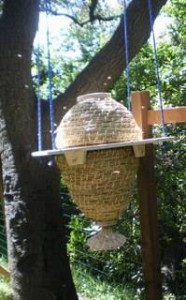
 When we set up the Haengekorb, I didn’t realize it needed to be protected from rain. We hung it in a tree in the back of the yard, and it really wasn’t practical to take it down to put on a roof once the bees were in. The unseasonal rain we had prompted me to put up a very makeshift roof; but clearly, I needed to solve this problem in a more permanent way. I originally thought of 1/4″ plywood and 2×2’s, but I didn’t see how I could cobble this together around the ropes. Also, there was the problem of weight.
Then I thought of clear plastic corrugated roofing. I got an 8′ piece, some v-shaped metal flashing, a couple of pieces of lath, some marine glue, some foam pipe insulation and hose clamps, and metal duct tape (the kind they use for heat ducts). I had the lumber yard cut the roof panel in half, and cut a 4′ piece of the flashing for me. Then over several days I glued the lath to the short sides of the roofing, glued the flashing across the top, and taped everything up. I drilled holes for the ropes and made saw cuts from the edge up to the rope holes. I covered the holes with tape so they wouldn’t fray the ropes.
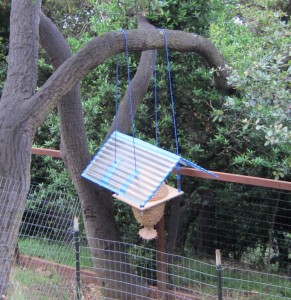 The installation had to be at dusk, when the bees were all quiet and in the hive. The first evening, I waited put up two ladders. I climbed up on either side of the hive, and set 18″ pieces of the foam pipe insulation around each rope, with a clamp at the top for the roof to rest on. I taped around each piece of foam for reinforcement. The next evening, I set the finished roof on the foam and taped up the saw cuts with duct tape and metal tape. Then I covered all the metal tape with blue painters’ tape to deflect the heat and please the bees, who allegedly like blue.
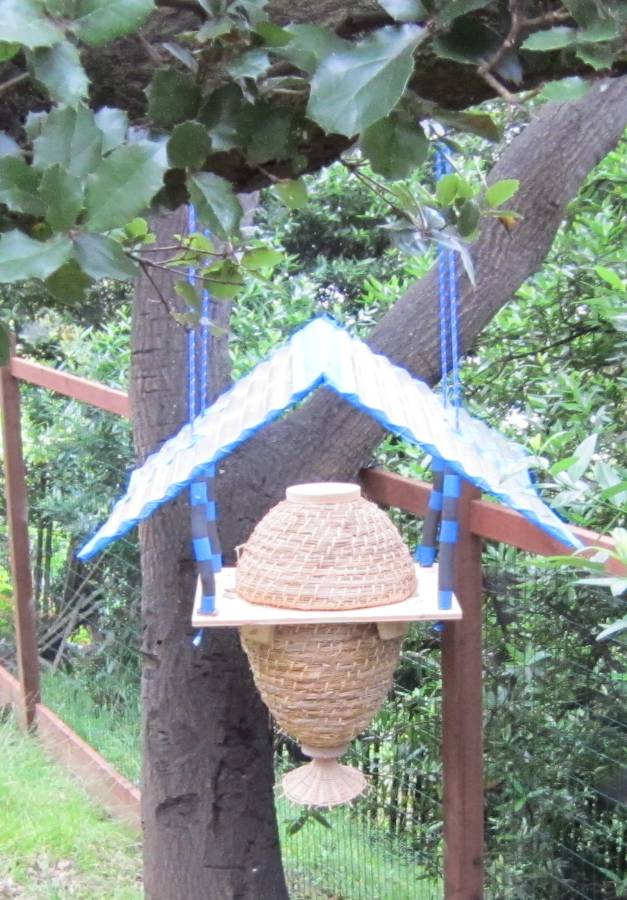 Now we’ll have to see if it holds up and keeps the bees dry when the rain comes. But in any case, this is certainly the most advanced engineering project I have ever tried. I am amazed that my measurements were right, the saw cuts were relatively straight, and the whole thing worked as I envisioned it.
For the full story of the arrival of the bees, and setting up the hive, click here. Or click to see the makeshift roof.
